A Beginner’s Guide to Cleaning an Ice Maker
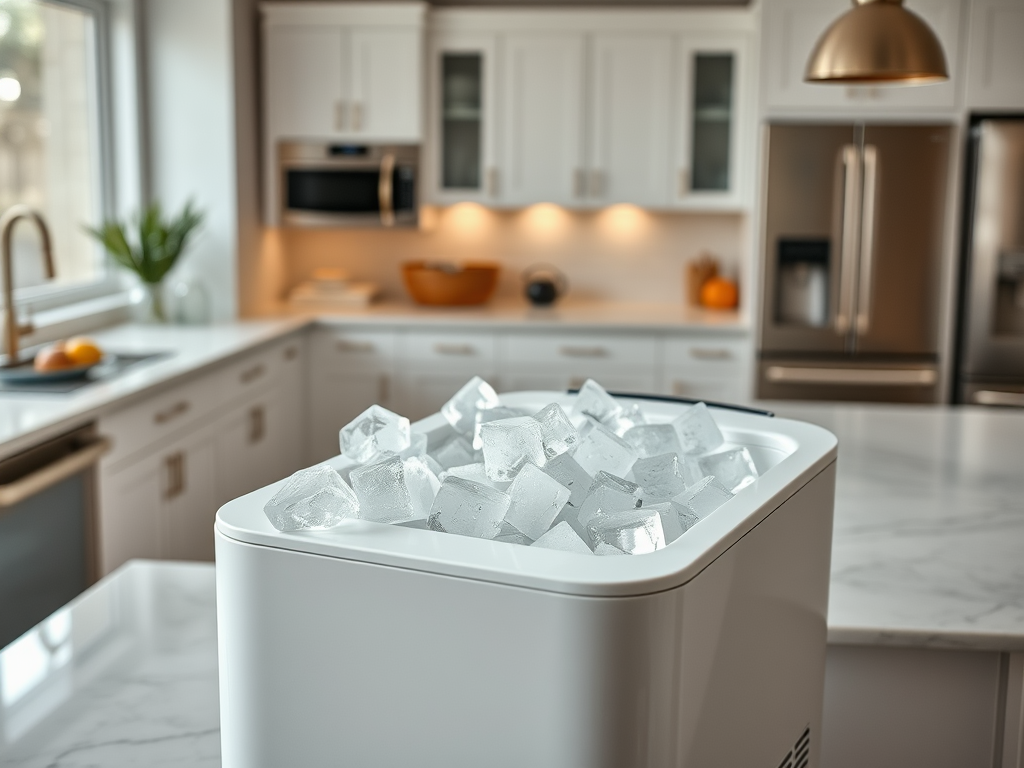
Keeping your ice maker clean and well-maintained is essential for producing fresh and hygienic ice. A clean ice maker not only guarantees that your icy refreshments are safe to consume but also extends the lifespan of the appliance. Neglecting to clean your ice maker can lead to bacteria and mold growth, resulting in unpleasant odors and contaminated ice. In this beginner’s guide, you will discover straightforward steps to effectively clean your ice maker. Ensuring that you follow these cleaning practices can save you both time and money down the line. Let’s delve into the details of maintaining this essential kitchen appliance.
Why Cleaning Your Ice Maker is Important

Ignoring the cleanliness of your ice maker can have repercussions beyond just unappealing odor. Regular cleaning helps prevent the buildup of unwanted bacteria and mold, creating a healthier environment for ice production. Besides health hazards, a dirty ice maker can also affect the taste of your beverages. Imagine using ice that has absorbed unpleasant smells or flavors—definitely not ideal for your favorite drinks! Additionally, when you maintain a clean appliance, it operates more efficiently, leading to reduced energy consumption. Thus, cleaning your ice maker is an investment in both health and operational optimization.
Tools and Materials Needed
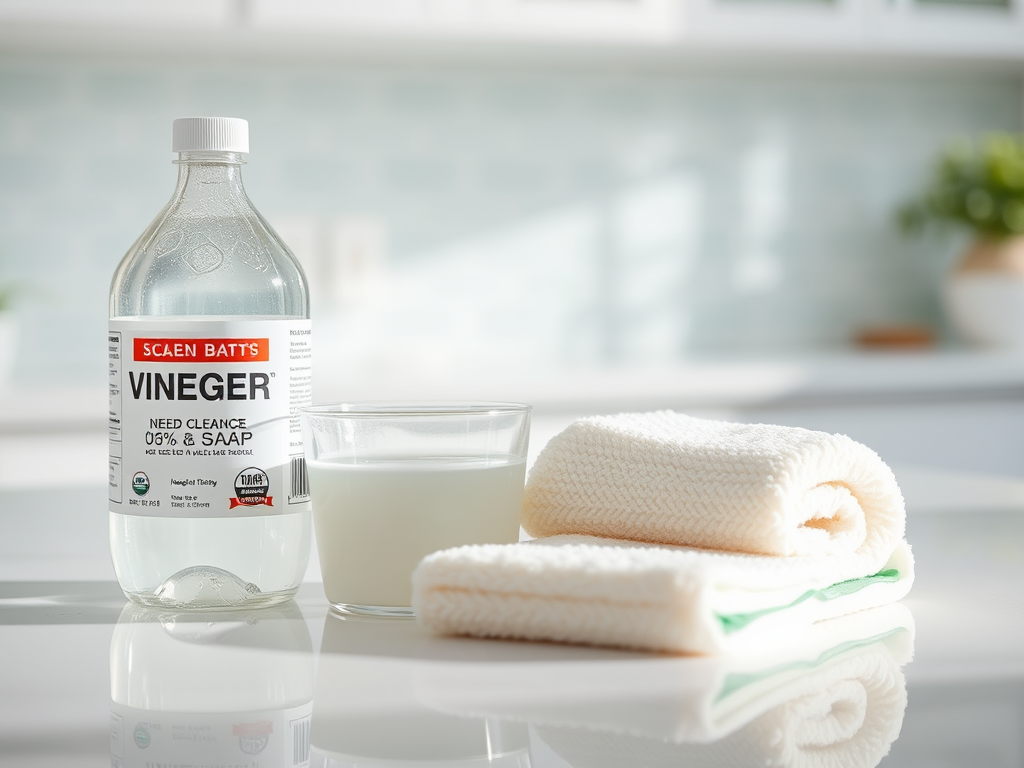
Before embarking on the cleaning journey, it is crucial to gather all necessary tools and materials. This preparation not only streamlines the process but also ensures that you won’t be scrambling for items midway through. Here’s a handy list to consider:
- Soft cloth or sponge
- Mild dish soap
- White vinegar or an unscented descaling solution
- Water
- Bucket or container
- Brush for hard-to-reach areas
Step-by-Step Guide to Cleaning Your Ice Maker
Now that you have all your cleaning supplies ready, let’s walk through the step-by-step process for cleaning your ice maker.
Turn Off and Unplug the Ice Maker
Your safety should always come first. Make sure to turn off your ice maker and unplug it from the wall before you begin cleaning. This simple step safeguards against any accidental activation while you work. It’s an easy precaution that every user should take, regardless of experience level. Being vigilant during cleaning will enable you to focus better on the task at hand. Now let’s move on to the next step!
Remove and Empty the Ice Bin
Next, you’ll want to take out the ice bin. Discard any ice that may have accumulated. This step allows for a thorough cleaning of both the bin and the internal components of the ice maker. An empty bin ensures you can wipe down surfaces without obstruction and helps in detecting any lingering odors or buildup easily. Additionally, this will set the stage for a more sanitary environment as you clean. With the bin empty, you’re ready for the interior cleaning.
Cleaning the Interior
Using a mixture of mild dish soap and warm water, you’re now ready to clean the interior components. Here is a list of the steps to follow:
- Wipe down all surfaces inside the ice maker using your soft cloth or sponge.
- For hard-to-reach stains, employ a brush to scrub these areas gently.
- Pay special attention to corners and cracks where grime often accumulates.
After you’ve wiped down the surfaces, a thorough rinse is essential. Make sure to use clean water for rinsing to eliminate any soap residue, which can render your ice unpalatable. Lastly, dry all surfaces completely to prevent moisture buildup, which could create the perfect environment for mold growth.
Descaling the Ice Maker
If you notice any hard water deposits in your ice maker, descaling is vital and can be done easily with a few ingredients. For descaling, you can use either white vinegar or a commercial descaling solution. Here’s how you can do it:
| Step | Description |
|---|---|
| Mix Vinegar with Water | Combine equal parts of white vinegar and water in a container. |
| Run a Cleaning Cycle | Pour this mixture into the water reservoir and run a cleaning cycle, if your model allows. |
| Flush with Clean Water | After the cycle is complete, flush the system with clean water to mitigate any remaining vinegar residue. |
Reassemble and Test Your Ice Maker
Once all components are clean and fully dried, it’s time to reassemble the ice maker. Plug the unit back in and turn it on. Running a test cycle will help ensure everything is functioning as it should. This step not only confirms that the cleaning has been effective, but it also helps remove any residual cleaning solution. Keep an eye on the first batch of ice it produces; if everything looks and tastes fresh, you’ve done a great job!
Conclusion
Regular cleaning of your ice maker is a simple yet essential task for maintaining both hygiene and functionality. By following the steps outlined in this guide, you will ensure that your ice maker serves you well, providing clean and fresh ice. Remember that a small investment of time goes a long way in ensuring your drinks remain delicious and contaminant-free. With just a few supplies and a little effort, you can keep your ice maker in top-notch condition for many years to come. So, roll up your sleeves and get started on your cleaning journey!
Frequently Asked Questions
- How often should I clean my ice maker? It’s recommended to clean your ice maker every 3-6 months, or more frequently if you notice build-up.
- Do I need special cleaning products? No, a mild dish soap and vinegar solution typically suffice for cleaning.
- Can I use bleach to clean my ice maker? No, bleach is not recommended as it can leave harmful residues. Use vinegar or descaling solutions instead.
- What if my ice maker smells bad? A bad smell may indicate the presence of mold or bacteria. Cleaning it thoroughly should resolve the issue.
- Is it safe to reuse old ice after cleaning? No, it’s best to discard all ice after cleaning to start fresh with clean, new ice.
Related Posts

How to Use Best Carpet Cleaner Products for Long-Lasting Results

The Best Way to Dry Shoes in the Dryer: Tips from Experts
