How to Tighten Toilet Bolts: A Simple DIY Guide
When it comes to household maintenance, the toilet can sometimes be overlooked, yet stable toilet bolts play a vital role in keeping everything intact. If you’ve ever noticed water pooling around your toilet or heard unsettling wobbling noises, it may be time to give those bolts some attention. Not only are loose bolts unsightly, but they can also lead to more severe plumbing issues that could inconvenience your daily routine. Luckily, tightening toilet bolts is a straightforward task that any DIY enthusiast can tackle with a little guidance. In this article, we will explore the simple, effective steps to ensure your toilet remains secure and leak-free.
Before we dive into the how-to steps, it’s essential to understand the tools you’ll need to get the job done effectively. The right tools not only make the process easier but can also lead to better outcomes. In this guide, we’ll make sure you are well-equipped so that your tightening of toilet bolts goes off without a hitch. Following the process outlined below will empower you to manage this maintenance task confidently.
Tools and Materials Needed
To begin, it’s crucial to gather the necessary tools and materials. Having everything at hand will streamline the process and reduce any frustration or delays. Here’s a handy list of what you’ll need:
- Flathead screwdriver
- Adjustable wrench
- Socket wrench
- Replacement bolts and nuts (if necessary)
- Towels or rags
Make sure the tools are in good condition to facilitate a smooth tightening process. If you notice any rust or damage on the bolts, having replacement bolts handy can save you a trip back to the store.
Step-by-Step Guide

Preparing the Area
Before starting the tightening process, preparation is vital to ensure safety and efficiency. Start by clearing the area around the toilet of any obstacles. This includes any rugs, cleaning supplies, or personal items that might hinder your movement. By creating an unobstructed work environment, you can easily access the toilet and maneuver around it.
Moreover, place towels or rags around the base of the toilet to catch any accidental water spills. Toilets can sometimes harbor residual water that may leak out during the process, so it’s best to be prepared. This step not only keeps your floors dry but also prevents slips and falls, making the process safer for you.
Checking the Current Tightness
Now that you’ve prepared the area, it’s time to check the current tightness of the toilet bolts. If your toilet is wobbling or you notice water around the base, it could indicate that the bolts are loose. To assess this, gently shake the toilet at the top. If it moves at all, the bolts likely require tightening. Remember to check both sides of the toilet for consistency.
| Status | Action |
|---|---|
| Wobbly | Tighten the bolts |
| No movement | No action needed |
| Water present | Inspect for leaks |
Tightening the Bolts
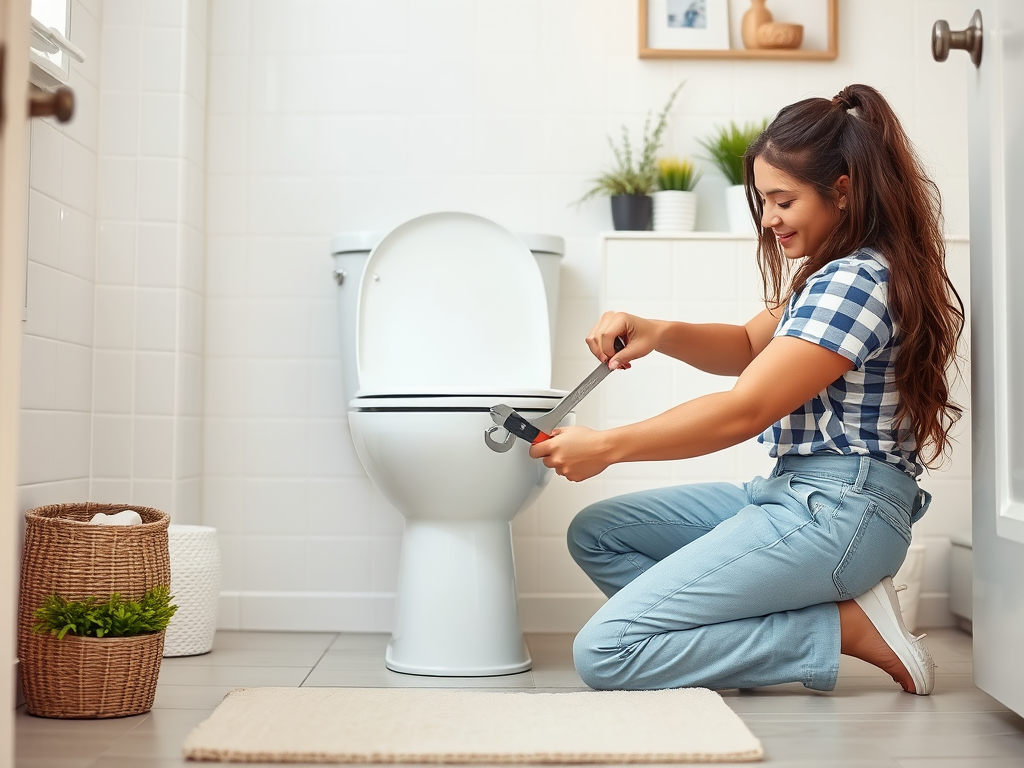
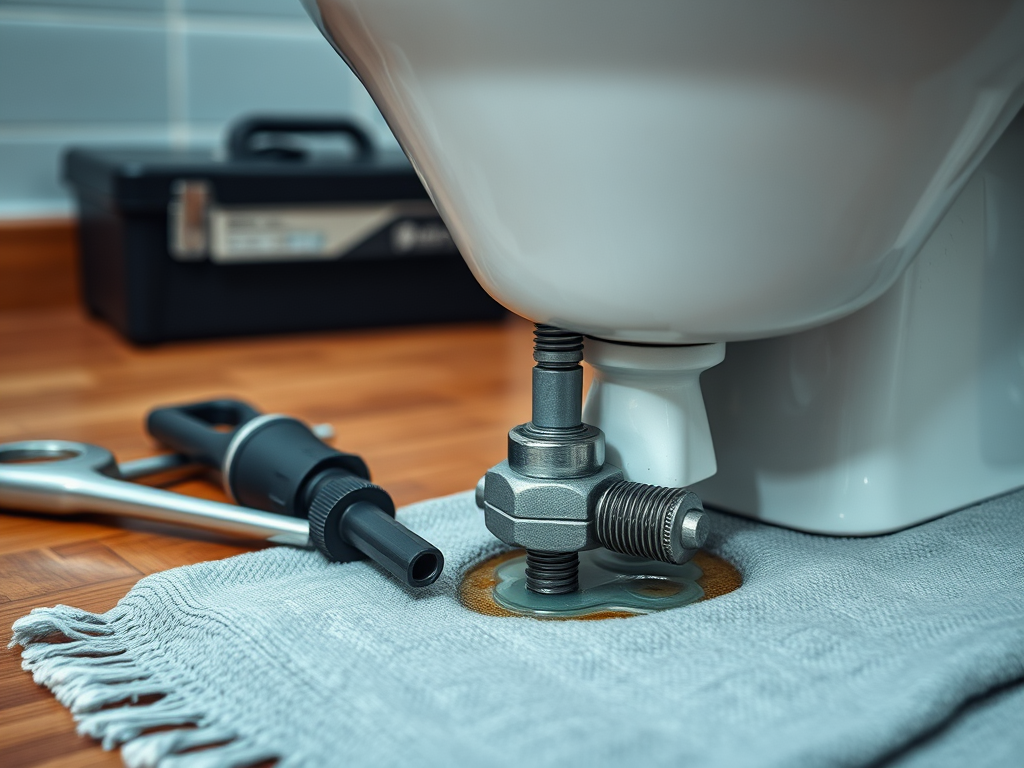
Now let’s get to the core of the process—tightening the bolts. Start by locating the bolts under the toilet. Typically, you’ll find these at the back and sides, where the toilet bowl meets the base. Using your adjustable wrench, carefully turn the bolts clockwise to tighten them. Be cautious not to apply too much force, as overtightening can damage the porcelain.
As you tighten, check to ensure even pressure on both sides. This will maintain the stability of the toilet and prevent any potential cracks. It’s best to tighten each bolt a little at a time, alternating sides to avoid uneven pressure. This incremental approach helps ensure that the toilet remains level and prevents any shifts during the tightening process.
Avoiding Common Mistakes
While tightening toilet bolts may appear straightforward, certain common mistakes could lead to more significant problems. One of the most prevalent issues is overtightening. If you notice resistance while tightening, stop to assess the situation. Over-torqueing can lead to cracked porcelain or even broken bolts, necessitating costly repairs.
It’s also essential to regularly check the bolts and perform maintenance to ensure that they remain secure over time. Regular inspections can save you headaches in the long run. Finally, remember to be patient. Rushing through the process can lead to overlooking crucial steps and making errors.
Conclusion
In conclusion, learning how to tighten toilet bolts is not just about fixing a wobble; it’s about maintaining the integrity and usability of your bathroom fixture. Regularly checking and maintaining these bolts can prevent leaks and ensure your toilet remains stable. By preparing your workspace, gathering the right tools, and following the outlined steps, you can confidently tackle this simple yet important DIY task. Don’t underestimate the value of routine maintenance—it’s the key to enjoying a trouble-free toilet for years to come.
Frequently Asked Questions
- How often should I check my toilet bolts? Regular checks are recommended every few months, or whenever you notice any leaks or instability.
- Can I replace toilet bolts myself? Yes, replacing toilet bolts is a simple DIY task that can be done with basic tools.
- What should I do if the bolts are rusted? Consider using penetrating oil to loosen rusted bolts, and replace them if they cannot be tightened safely.
- Is it normal for toilet bolts to become loose over time? Yes, it is common for bolts to loosen due to movement, natural settling, or changes in temperature.
- What happens if I overtighten the bolts? Overtightening can crack the toilet base or damage the porcelain, leading to costly repairs.
Related Posts

How to Use Best Carpet Cleaner Products for Long-Lasting Results

The Best Way to Dry Shoes in the Dryer: Tips from Experts
