How to Clean Windows With Vinegar for a Sparkling Finish Every Time

Cleaning windows with vinegar is a simple, effective, and eco-friendly method that yields sparkling results. This article delves into the best techniques and tips for using vinegar to clean your windows, ensuring they remain streak-free and shiny. Whether you’re preparing for a special occasion or just doing routine maintenance, the vinegar cleaning method will leave your windows gleaming. With minimal effort and cost, you can achieve professional-looking results at home.
Why Use Vinegar for Window Cleaning?
Using vinegar as a cleaning agent provides multiple benefits that make it an ideal choice for window cleaning. First and foremost, vinegar is a natural product, free from harsh chemicals, making it safe for your family and the environment. The acidic nature of vinegar effectively cuts through grease, grime, and mineral deposits, leaving glass surfaces crystal clear. Additionally, vinegar is inexpensive and readily available in most kitchens. This budget-friendly option is also versatile—perfect not only for windows but also for various surfaces around the home. Lastly, using vinegar eliminates the need for expensive commercial cleaning products, allowing for a cost-effective approach to maintaining a spotless home.
Supplies Needed to Clean Windows with Vinegar
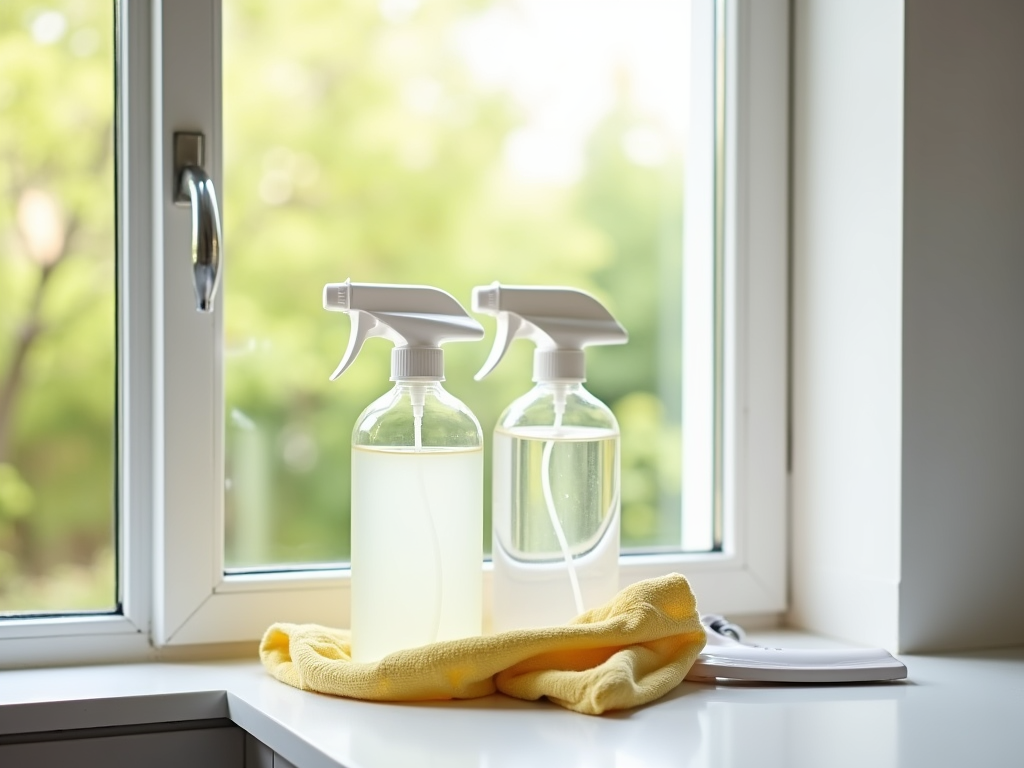
Before getting started with your window cleaning project, gather the necessary supplies to ensure a successful cleaning experience. Here’s a list of items you’ll need:
- White vinegar – the star of your cleaning solution.
- Water – to dilute the vinegar.
- A spray bottle – for easy application of the cleaning solution.
- Microfiber cloths or newspaper – to ensure a streak-free finish.
- A squeegee – optional but helpful for a professional look.
- A ladder – for accessing higher windows, if needed.
Once you have assembled these items, you’ll be ready to achieve sparkling clean windows with minimal effort.
Step-by-Step Guide to Cleaning Windows with Vinegar
Cleaning windows with vinegar is straightforward. Follow these steps to ensure a polished result:
- Prepare the Vinegar Solution: Mix equal parts of white vinegar and water in a spray bottle. This ratio ensures that the solution is strong enough to cut through dirt while remaining safe for glass surfaces.
- Spray the Solution: Generously spray the vinegar solution onto the window surface. For larger windows, work in sections to ensure coverage without allowing the solution to dry before you wipe it away.
- Wipe Down: Using a microfiber cloth or crumpled newspaper, wipe the window in a circular motion. This technique helps lift dirt and prevents streaking.
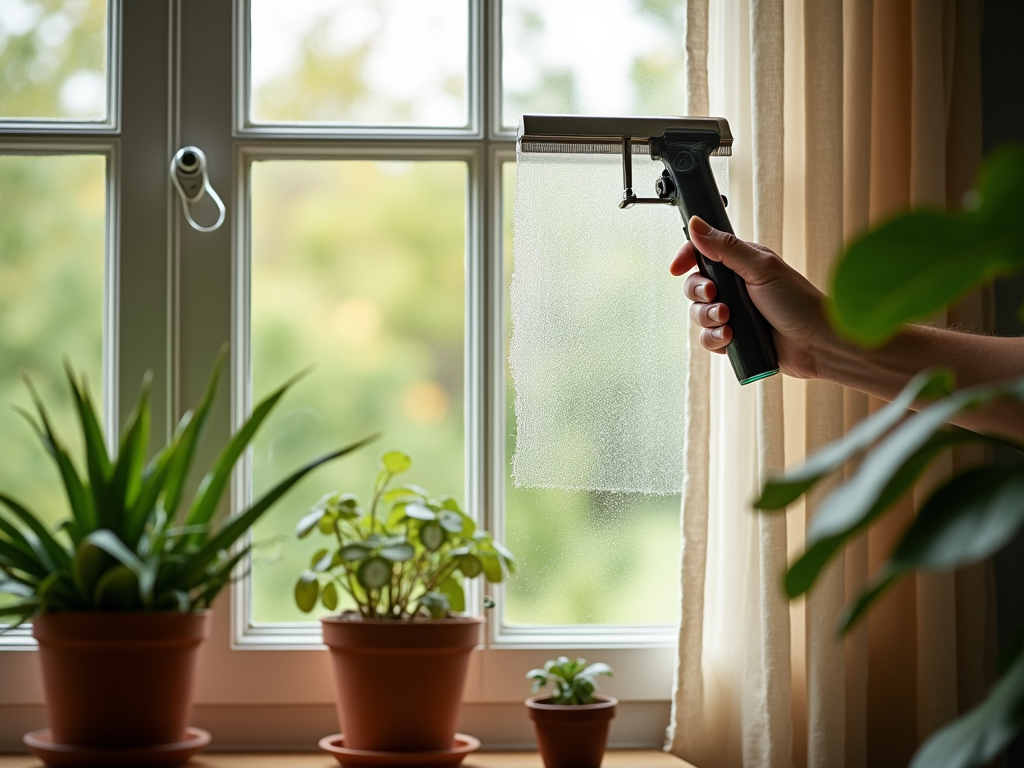
- Squeegee Technique: For a streak-free finish, use a squeegee. Start at the top corner and pull down in a straight line. Wipe the squeegee blade with a cloth after each pass to prevent transferring dirt back onto the glass.
- Final Touch: Inspect the window for any remaining streaks or spots. If needed, reapply the solution and wipe down again.
Following these steps will lead you to impressively clean windows that enhance the appearance of your home.
Keeping your windows clean requires regular maintenance to avoid the buildup of dirt and grime. Here are some useful tips:
- Clean on Cloudy Days: Aim to clean your windows on overcast days. Direct sunlight can cause the vinegar solution to dry too quickly, leading to streaks.
- Regular Schedule: Establish a regular cleaning schedule, ideally every few months, to maintain clarity.
- Avoid Using Fabric Softeners: If using cloths, steer clear of those treated with fabric softeners; they can leave residue that clings to glass.
- Use the Right Tools: Invest in quality microfiber cloths and a reliable squeegee for best results.
- Check for Damage: Before cleaning, inspect windows for any cracks or damage that could worsen from cleaning.
By following these maintenance tips, your windows will not only remain clean but also prolong their lifespan.
Conclusion
Cleaning windows with vinegar is not only easy and affordable but also results in a brilliant shine that enhances the overall look of your living space. By using a simple mixture of equal parts vinegar and water, along with the right tools and techniques, you can achieve professional-like cleanliness without relying on chemical-laden products. Regular maintenance and preventive measures will keep your windows looking pristine for longer, making vinegar the go-to solution for sparkling windows every time.
Frequently Asked Questions
1. Can I use apple cider vinegar instead of white vinegar?
Yes, you can use apple cider vinegar, but white vinegar is preferred for glass surfaces due to its lack of color and strong cleaning properties. Apple cider vinegar may leave a slight residue or scent.
2. How often should I clean my windows with vinegar?
For optimal results, it’s recommended to clean your windows every 1 to 3 months, depending on your environment. Areas with high dust or pollen levels may require more frequent cleaning.
3. Will vinegar harm window frames or sills?
No, vinegar is generally safe for window frames and sills, but it’s a good idea to avoid prolonged contact. Wipe spills promptly to prevent moisture damage over time.
4. Can I add dish soap to my vinegar solution?
Yes, adding a few drops of dish soap can enhance the cleaning power of the vinegar solution, especially for heavily soiled windows. Just remember to rinse well afterward.
5. Is it safe to use vinegar on tinted windows?
While vinegar is safe for most glass surfaces, it’s best to verify manufacturer guidelines for tinted windows. Some types of tint may react negatively to acidic solutions.
Related Posts

How to Use Best Carpet Cleaner Products for Long-Lasting Results

The Best Way to Dry Shoes in the Dryer: Tips from Experts
